How to Build Your First Automation Without Coding in 2026
You can build automation without coding. Thousands of businesses have cut hours of manual work per week using tools that require zero programming knowledge. The barrier isn’t technical — it’s knowing where to start.
This guide walks you through exactly how to build your first automation without coding: which tools to use, how to map your workflow, and step-by-step instructions for common automation patterns.
Why No-Code Automation Has Changed Everything
No-code automation platforms in 2026 allow non-technical users to connect software applications, trigger automated actions based on events, and build multi-step workflows without writing code. The three dominant platforms — Zapier, Make (formerly Integromat), and n8n — together connect over 7,000 applications and serve more than 4 million active users. The core concept is “trigger and action”: an event in one application (a new email, a form submission, a calendar entry) triggers a sequence of automated actions in other applications (creating a record, sending a message, updating a spreadsheet). As of 2026, AI-enhanced automation platforms can also incorporate LLM-based steps — having ChatGPT or Claude analyze, classify, or generate content as part of an automated workflow — without any technical configuration. McKinsey’s 2025 automation index found that knowledge workers who used no-code automation saved an average of 4.2 hours per week.
The fundamental idea: software applications have APIs — interfaces that let them communicate. No-code platforms create a layer on top of these APIs that you configure visually. You connect apps, define triggers, and set actions — the platform handles the technical communication.
The Three Major No-Code Automation Platforms
Zapier — Best for Beginners
Zapier is the easiest to use and has the broadest app library (6,000+ integrations). If you’ve never built automation before, start here.
Strengths: Largest app library, simplest interface, excellent documentation Weaknesses: More expensive at scale, limited workflow logic compared to Make Pricing: Free (5 Zaps), from $19.99/month for 20 Zaps with multi-step workflows Best for: Small businesses, solo operators, straightforward linear automations
Make (formerly Integromat) — Best for Complexity
Make uses a visual canvas where you can see all your automation branches simultaneously. More powerful than Zapier for complex workflows with conditions and multiple branches.
Strengths: Visual workflow canvas, powerful conditional logic, more affordable at scale Weaknesses: Steeper learning curve Pricing: Free (1,000 operations/month), from $9/month Best for: Complex workflows, teams that need multiple branches and conditions
n8n — Best for Control
n8n is open-source and can be self-hosted. More technical than Zapier or Make but gives full control over data handling — critical for businesses with privacy requirements.
Strengths: Full control, self-hostable, free at the source code level Weaknesses: Requires more technical comfort even with the visual interface Best for: Technical teams, businesses with data privacy requirements
Before You Build: Map Your Workflow
The biggest mistake beginners make: jumping into the platform before mapping the workflow. Build automation without coding starts with a clear picture of what you’re automating.
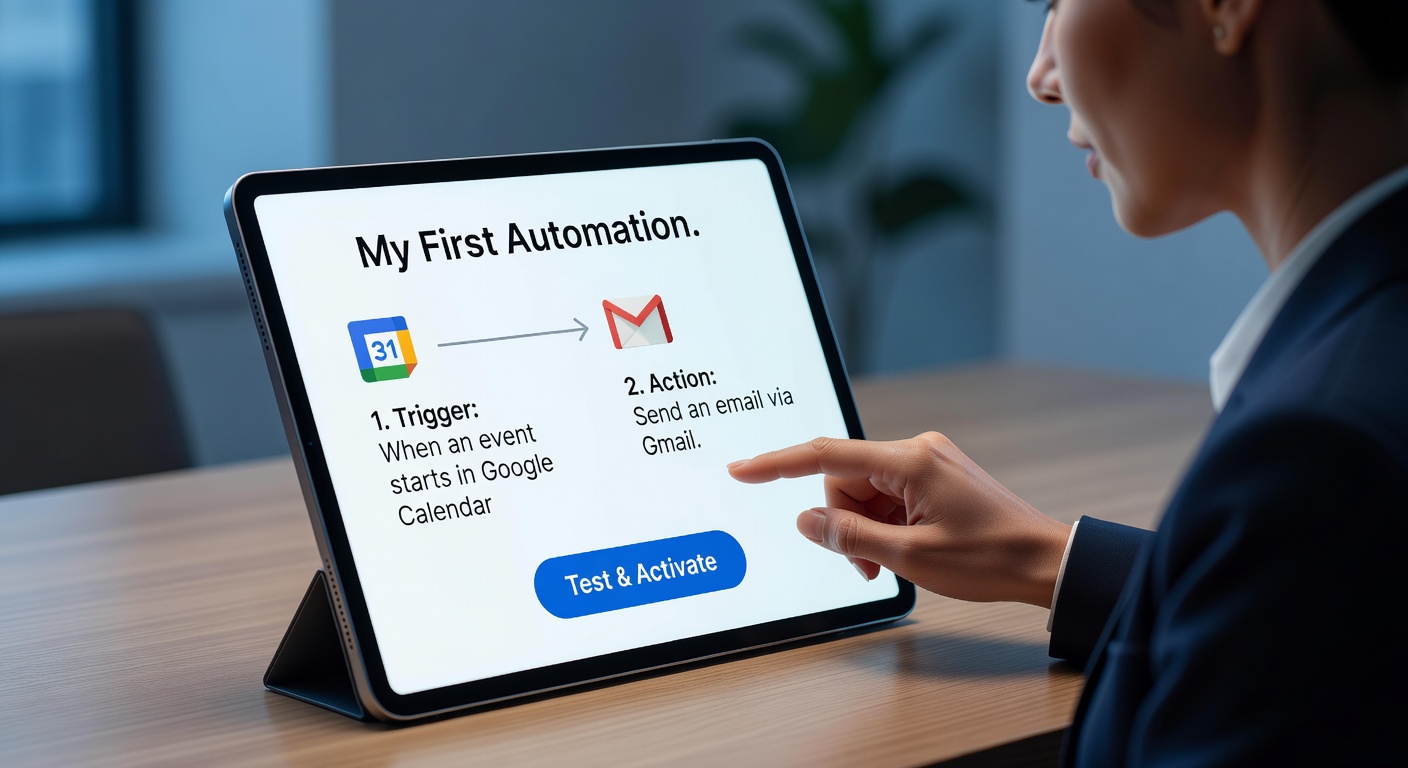
Step 1: Identify the trigger What event starts this workflow? Examples: – New email received in Gmail – Form submitted on website – New row added to Google Sheets – New file added to Google Drive – Scheduled time (daily at 9am) – New lead added to CRM
Step 2: Define the actions What should happen after the trigger? Write these in plain English: – Save the form data to a Google Sheet – Send a Slack message to the sales channel – Create a task in Asana – Send a confirmation email to the contact – Add the contact to HubSpot
Step 3: Identify the data What information needs to move from the trigger to the actions? Map which data points from step 1 need to appear in step 2, 3, 4, etc.
Example map:
TRIGGER: New contact form submission on website DATA: Name, Email, Company, Message, Date
ACTIONS: 1. Add to Google Sheet row (Name, Email, Company, Date) 2. Create HubSpot contact (Name, Email, Company) 3. Send Slack notification (#sales): "New lead: [Name] from [Company]" 4. Send email to contact: "Thanks for reaching out, [Name]..."
This map is your blueprint. The automation platform just executes it.
Step-by-Step: Build Your First Automation in Zapier
Step 1: Create a Zapier Account
Go to zapier.com and sign up. Free accounts give 5 Zaps with 2-step workflows — enough to build your first automation.
Step 2: Click “Create Zap”
The Zap editor opens. Every Zap starts with a trigger.
Step 3: Choose Your Trigger App and Event
Search for your trigger app (e.g., “Google Forms”). Select the trigger event (“New Form Response”).
Connect your account — authorize Zapier to access the app via OAuth.
Test the trigger: Zapier will fetch a recent trigger event to confirm the connection works and show you what data is available.
Step 4: Add Your First Action
Click the “+” button to add an action step.
Search for your action app (e.g., “Google Sheets”). Select the action event (“Create Spreadsheet Row”).
Map the fields: drag the data from your trigger (Name from the form) into the fields in the action (Name column in the sheet).
Test the action: Zapier sends test data to verify the connection works.
Step 5: Add Additional Action Steps
Click “+” again to add more steps. Each step can use data from any previous step.
For the Slack notification: add Slack as an action, choose “Send Channel Message,” write your message template using the form data in the message body.
Step 6: Turn On the Zap
Review the summary, then toggle the Zap to “On.” From now on, every time someone submits your form, the entire sequence runs automatically.
Five Practical Automations to Build First
1. Lead Capture → CRM + Notification
Trigger: New contact form submission Actions: Add to HubSpot → Send Slack notification → Send confirmation email Time saved: ~5 minutes per lead × your lead volume
2. New Customer → Onboarding Sequence
Trigger: New payment in Stripe Actions: Create customer in CRM → Add to onboarding email sequence → Create onboarding task in project management tool → Notify account manager in Slack
3. Content Calendar → Scheduling
Trigger: New row added to Google Sheet (content calendar) Actions: Create scheduled social post in Buffer → Add to Trello content board → Send reminder to writer in Slack
4. Support Ticket Routing
Trigger: New email in support inbox Actions: Classify the topic (use AI step: ChatGPT analyzes email and returns category) → Route to correct team in Helpdesk → Log in tracking sheet
5. Report Generation
Trigger: Schedule (every Monday 8am) Actions: Pull data from Google Analytics → Pull data from Google Sheets → Have AI summarize the data → Send summary email to team
Adding AI to Your Automations
In 2026, AI steps are native to most automation platforms. This is where you can build automation without coding that goes far beyond simple data transfer.
What AI steps can do in an automation: – Classify or categorize content (emails, support tickets, leads) – Summarize long documents or emails – Generate draft responses or content – Extract specific information from unstructured text – Score or prioritize items based on criteria
In Zapier: Use the “ChatGPT” integration as a mid-workflow step. Send the trigger data as context, get structured output, use it in the next action.
Example: Support email comes in → AI step extracts: topic, sentiment, urgency, key question → Route based on these extracted fields.
Common Mistakes When Building Automation Without Coding
Not testing with real data: Test mode uses sample data that may not represent real-world edge cases. Run a real test before turning on a Zap.
No error handling: What happens when an action fails? Configure error notifications so you know when automations break.
Over-automating too early: Start with the one workflow that wastes the most time. Automate it, run it for a month, then expand.
Forgetting to update automations: When you change an app, update the automation. A Zap that worked in January may break if you change your form fields in March.
FAQ
Can I really build automation without any technical knowledge? Yes. Zapier and Make are designed for non-technical users. If you can use a spreadsheet, you can build a basic automation.
How much time does it take to set up? A simple 2–3 step automation takes 20–30 minutes to configure and test. More complex workflows with multiple branches take 1–2 hours. The time is recovered within days once it’s running.
Is no-code automation secure? You’re granting third-party platforms access to your accounts. Zapier and Make are SOC 2 certified. For highly sensitive data, consider n8n (self-hosted) or check each platform’s security documentation.
What’s the difference between Zapier and Make? Zapier is simpler — better for beginners and straightforward linear workflows. Make is more powerful — better for complex workflows with multiple branches, loops, and conditions. Make is also more affordable at higher operation volumes.
Key Takeaways
You can build automation without coding today — the tools exist, the learning curve is manageable:
– Zapier is the easiest starting point (6,000+ app library, simple interface) – Make is best for complex multi-branch workflows at lower cost – Map your workflow on paper before touching the platform – Start with the one high-repetition task that wastes the most time – Add AI steps to classify, generate, and analyze content in your automations
For more on automation tools, read our Zapier vs Make vs n8n comparison and our AI automation tools for leads guide.
Last updated: May 2026.